

Intro
Buying a used water tank is only half the job. The other half is getting it to your property in one piece, setting it on a base that will not shift, and connecting it so it fills and drains the way it should. Most damage to second-hand tanks does not happen during years of use — it happens during one careless move or on a base that was never level.
This guide covers the full move: preparing the tank, transporting it safely, choosing and preparing its spot, connecting it, and flushing it before the first real fill.
Before You Move It: Drain, Cap and Measure
Start with the tank empty. Drain it fully through its outlet or drain valve, and let it sit until no water remains inside. A tank that still holds water is far heavier than it looks, and water sloshing during transport can crack fittings and throw a vehicle off balance.
Cap or plug every opening — inlet, outlet, overflow and any spare fitting — so dust, insects and road debris cannot get in during the move. If a cap is missing, cover the opening securely with clean plastic and tape; replace the cap before the tank goes into service.
Measure the tank before booking transport: height, diameter or length, and the width of the widest point including any fittings that stick out. Measure the route at the destination too — gate width, turning space, and the height of any overhead shade structure the truck must pass under. A tank that cannot get through the gate is a problem best found before moving day.
Transporting a Used Tank Safely
Move the tank in the position it was designed to sit in: vertical tanks upright, horizontal tanks on their cradles or supports. Never roll a tank along the ground to move it, and never drag it — both can gouge the shell and weaken fittings.
Secure the tank so it cannot shift, slide or tip. Use wide straps or ropes over the body, not around a single fitting or pipe, which can snap under load. On a flatbed or pickup, the tank should sit on a flat, clean surface with padding under any hard contact points. Drive gently on UAE roads in summer heat: slow down for speed bumps and roundabouts, and stop after the first few minutes to check the straps are still tight.
For large tanks, hire a transporter who has moved tanks before and has the right vehicle and lifting help. Two or three people should guide a large tank during loading and unloading — one person should never try to steady a tank that is tipping.
Choosing the Right Spot
Pick a spot that is flat, firm, shaded where possible, and easy to reach for cleaning and maintenance. Keep the tank close enough to the building inlet pipe to avoid long runs of pipe, but leave at least an arm’s length of clear space all around it so you can walk around it, inspect fittings, and clean the lid.
Keep the tank away from septic systems, drains and any place where wastewater could pool around the base. Avoid low spots where rain or wash water collects, and avoid placing the tank where a vehicle might bump it. If the tank will sit on a roof, confirm with a qualified person that the roof can carry the full weight of the tank when it is completely full — a full tank is far heavier than an empty one.
Building a Solid, Level Base
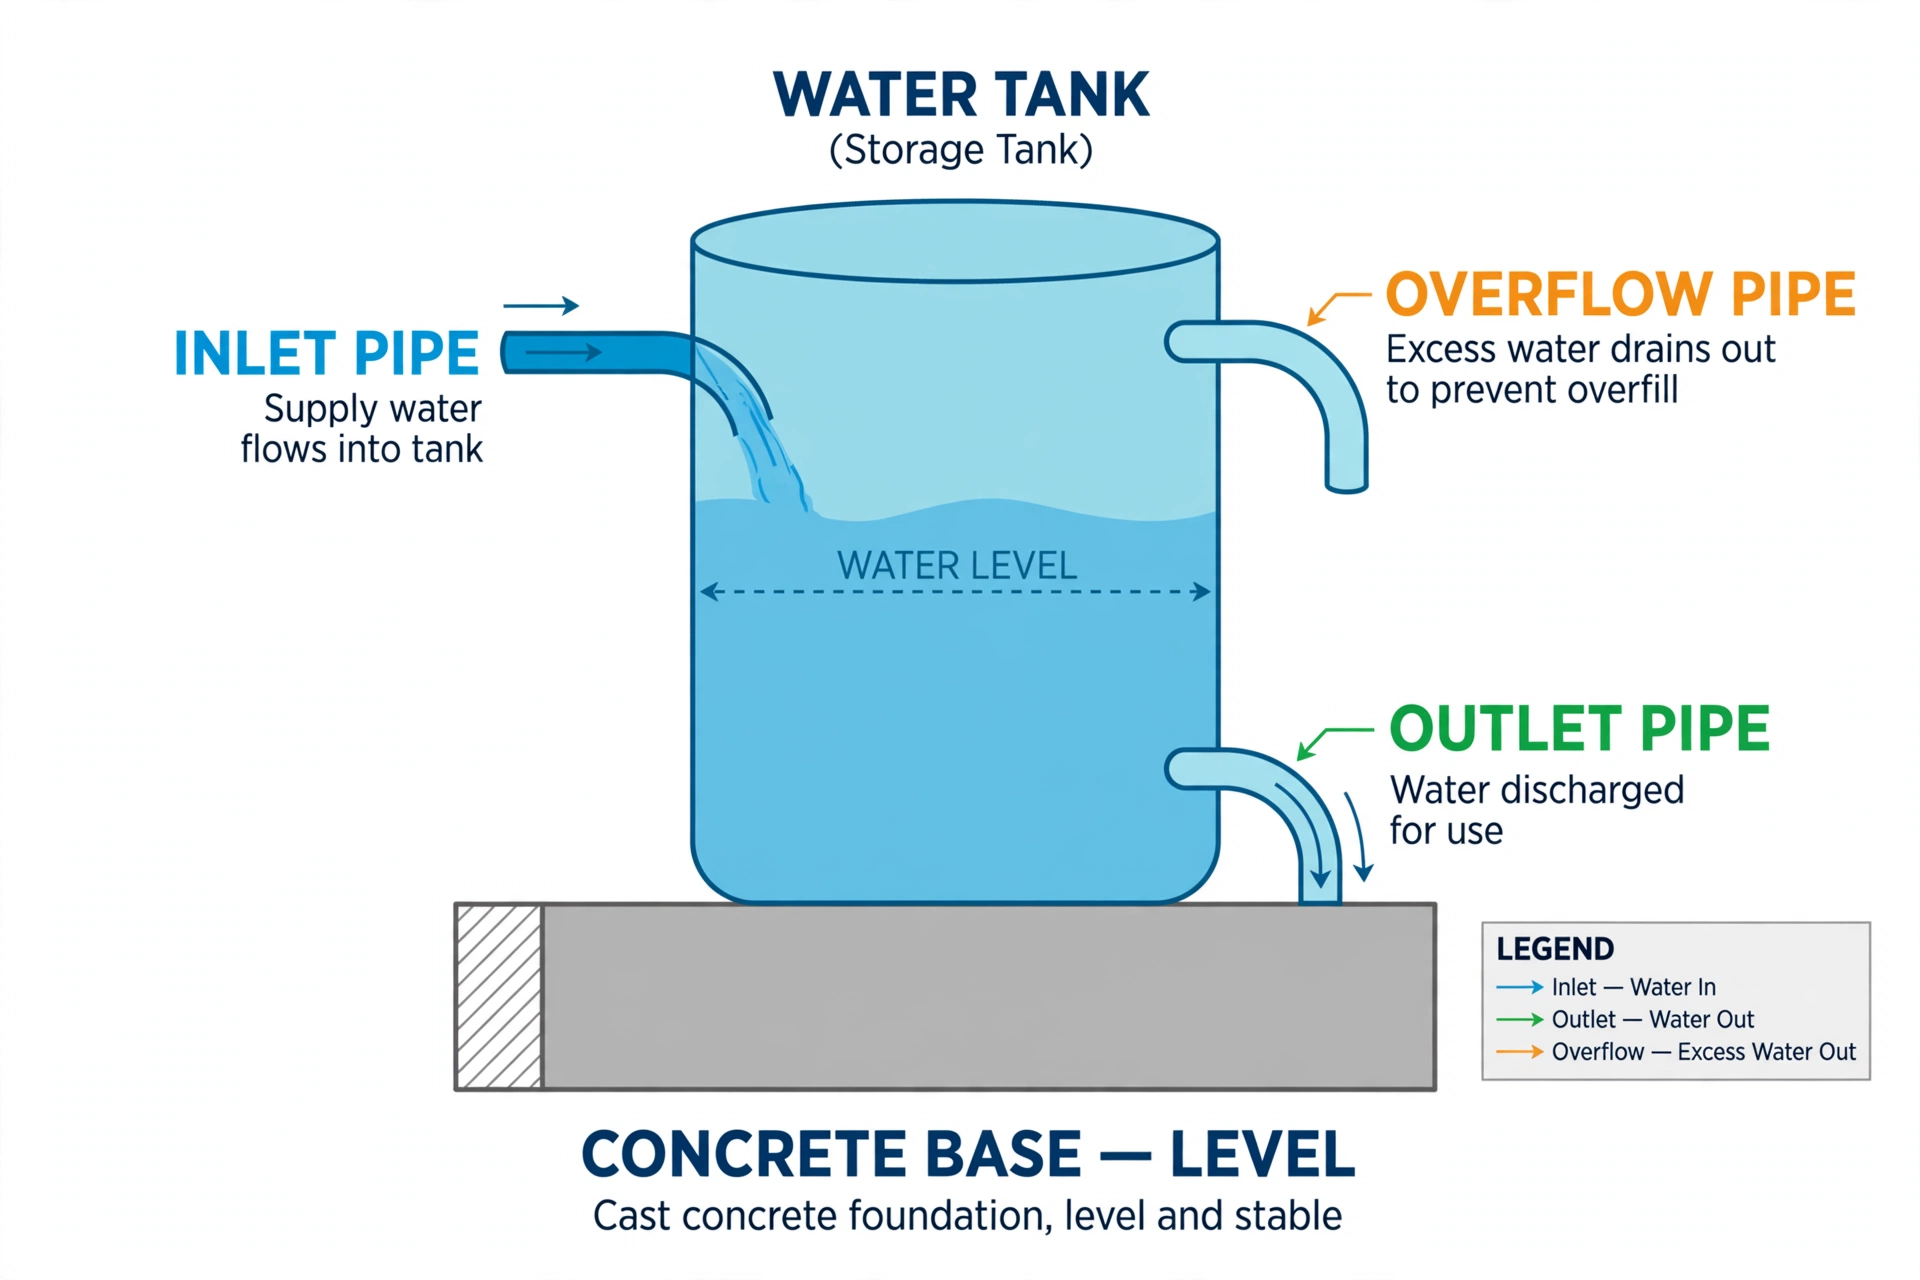
A used tank needs a base that is flat, level and stronger than the tank’s full weight. A concrete slab is the most reliable option for larger tanks. For smaller tanks, a thick, well-compacted sand or paver bed can work if it is perfectly level and will not wash away.
Check the base with a spirit level in both directions before the tank goes on. A base that slopes even slightly puts uneven stress on the shell and can leave fittings strained. Once the tank is placed, check again — a tank that rocks or sits off-level must be re-seated, not shimmed with loose stones or timber that can shift later.
Connecting the Tank
Connect the inlet, outlet and overflow in that order, and keep every connection accessible for later checks. The inlet should enter near the top with a screen or filter where fitted, so debris cannot enter with the water. The outlet should draw from above the very bottom of the tank, so settled sediment is not pulled into the building’s pipes.
The overflow pipe matters more than it looks. It must run downhill to a safe drainage point, away from walls, walkways and the tank’s own base. A blocked or missing overflow can push water back into places it should never reach, and a badly routed one can erode the base over time.
Tighten fittings firmly but do not force them. If a fitting on a used tank feels stiff, cracked or cross-threaded, replace it before the first fill — a fitting that fails under a full tank is far harder to fix than one replaced while the tank is empty.
First Fill and Flush
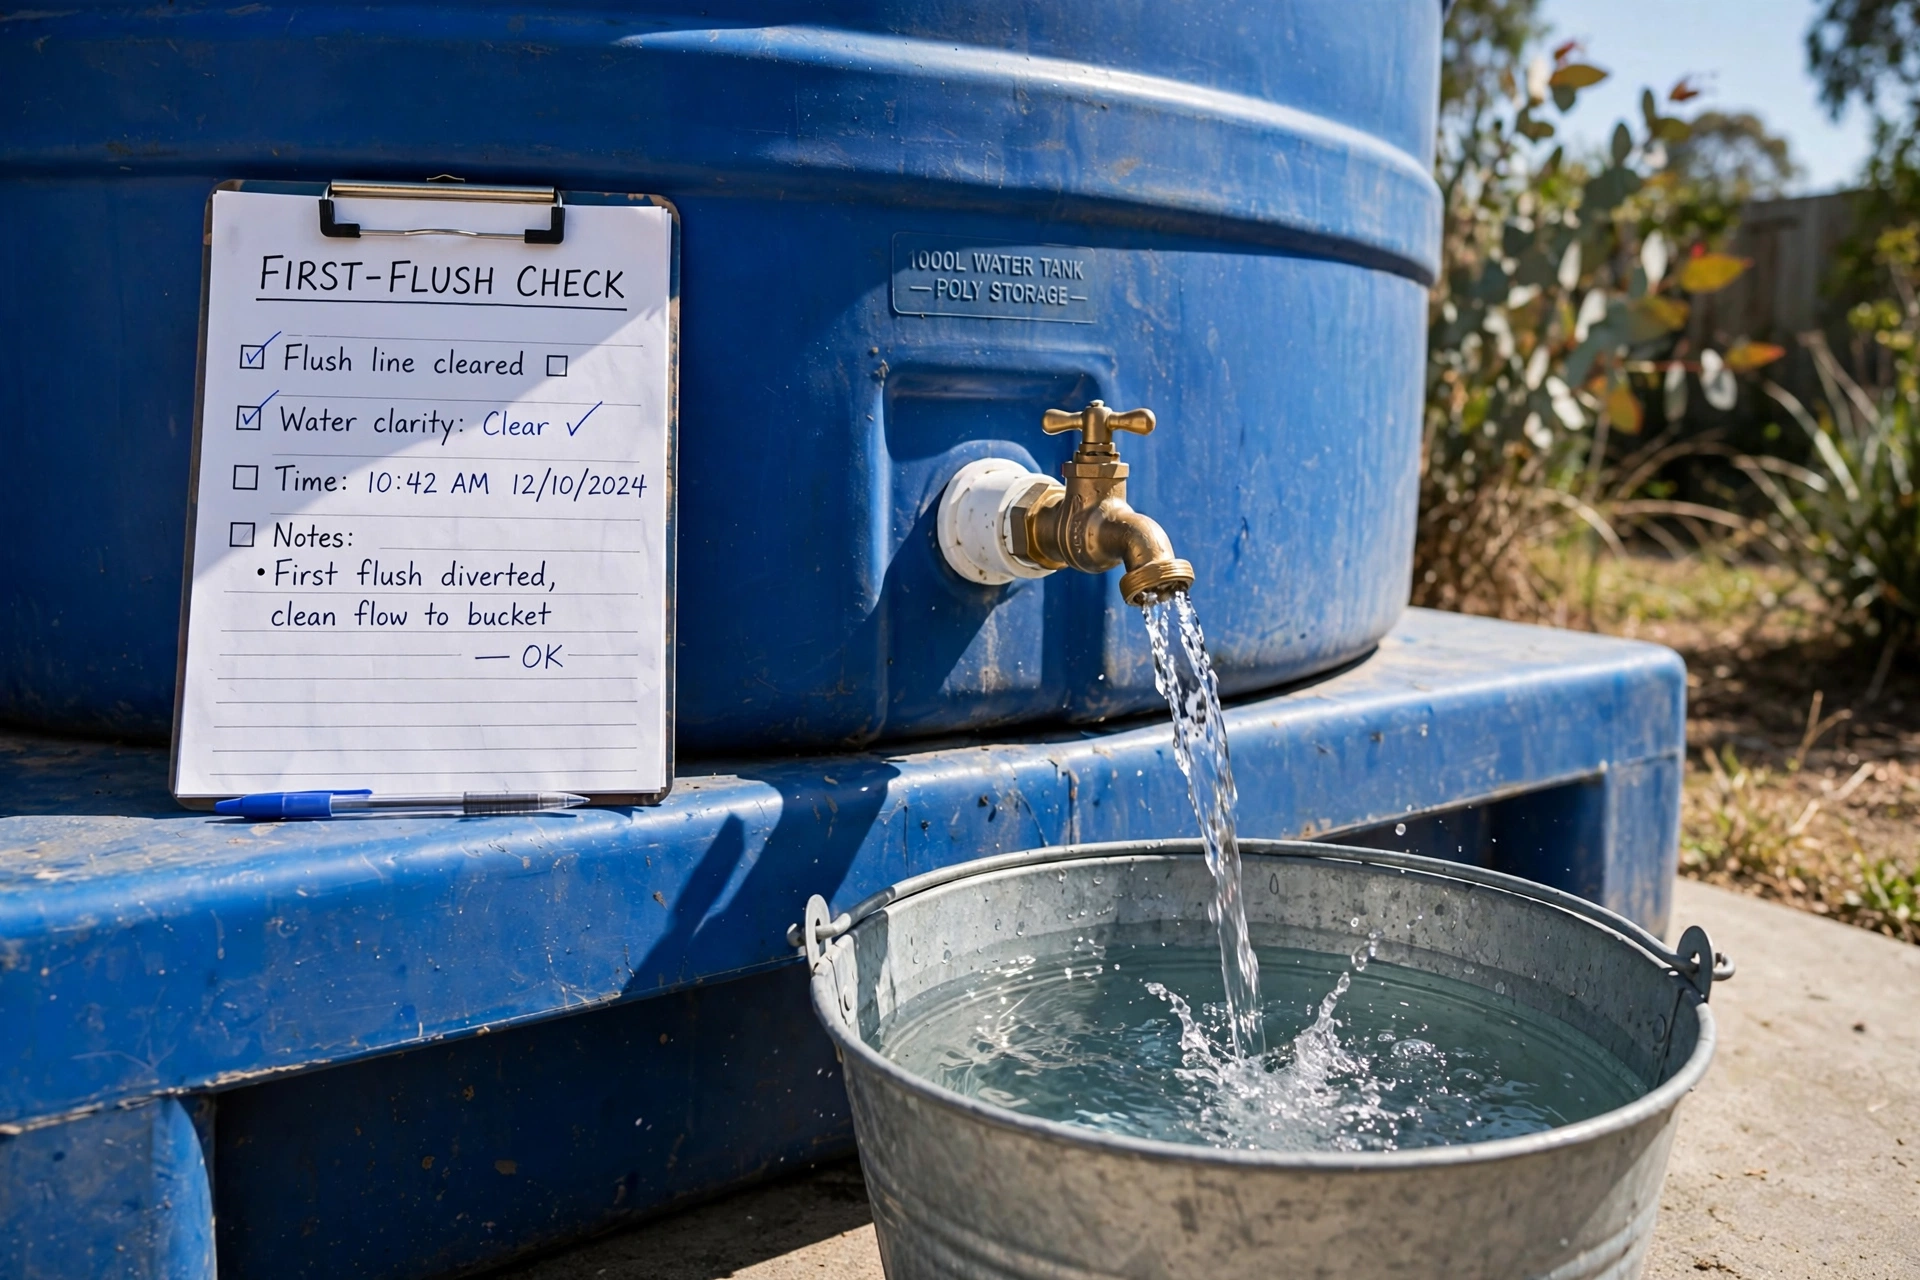
Do not put a used tank straight into service. Rinse the inside with clean water first, drain it, and then disinfect with a food-safe disinfectant made for drinking-water tanks, following the product’s own instructions and contact time exactly. Rinse again until no disinfectant smell remains.
Then fill the tank slowly and walk around it while it fills. Check every fitting, joint and valve for drips, watch the base for any sign of settling, and confirm the overflow runs clear when the tank reaches full. Let the first full tank sit briefly, then run a tap and check the water runs clear with no unusual smell. If anything looks off — cloudiness, grit, or a persistent smell — drain, rinse and inspect again before using the water.
Mistakes to Avoid
- Moving a tank with water still inside — the extra weight and shifting water can damage fittings and make transport unsafe.
- Dragging or rolling the tank — it scratches and weakens the shell.
- Skipping the level check — an unlevel base stresses the tank and strains fittings over time.
- Forgetting the overflow — a blocked or badly routed overflow causes damage long after installation day.
- Using the tank without flushing — a used tank should always be rinsed and disinfected before its first fill.
FAQs
Can I move a used water tank myself?
Small tanks, yes, with at least one helper, a suitable vehicle, and proper straps. Large tanks should be moved by a transporter who has done it before, with enough people to guide loading and unloading safely.
Does a used tank need a new base, or can it sit on the old one?
Only reuse an old base if it is flat, level, undamaged and strong enough for the tank’s full weight. If it is cracked, sloping or soft, build a new base — the base is not the place to save effort.
How do I know the tank is level?
Use a spirit level on the base before placement, in both directions, and check again once the tank is seated. A tank that rocks or leans must be re-seated.
Should I replace fittings on a used tank?
Replace any fitting that is cracked, stiff, cross-threaded or sun-damaged. Fittings are inexpensive compared with the cost of a leak from a full tank.
How long before I can use the water?
After rinsing, disinfecting, rinsing again, and a slow first fill with a full leak check, the tank is ready once the water runs clear with no unusual smell. If anything looks or smells off, drain and inspect again before use.
Looking for a second-hand tank that is worth the move? Browse the range of used water tanks and choose the size and shape that fits your property.